


Hey everyone, chris here!
It's been a little while. I've answer tickets before about fixed-wing RC (Radio Controlled) model airplanes, and a bunch of you have been asking the big questions: "How do I even start?" and "What stuff do I actually need?"
So, I wanted to put together a couple of posts to walk you through getting into the awesome hobby of flying model airplanes. This first one is all about the essential gear you'll need for fixed-wing planes.
When I say "essential," I mean the basic stuff you absolutely need to get a typical fixed-wing kit plane (like the ones you can find online) assembled and actually flying multiple times.
Later on, I'll talk about some "nice-to-have" gear that can make flying even cooler. Hopefully, this will help you jump right in! I always appreciate when people support newcomers getting into the hobby.
Let's dive into the must-have equipment:
- Remote Control (Transmitter)
- Receiver
- ESC (Electronic Speed Controller)
- Motor
- Servos
- Simulator
- Battery
- Charger
1. Remote Control (Transmitter)

Okay, first up: the remote control, often called a "transmitter" in the RC world. This is pretty simple – it's the controller you hold in your hands to tell the airplane what to do.
When you're shopping for one, you might see terms like "Mode 1" or "Mode 2" (sometimes called "Japanese hand" or "American hand"). Don't let that confuse you! It just refers to which stick controls which function.
- Mode 2 (the "American hand") is the most common setup in the US. The left stick controls throttle (how fast the motor spins) and yaw (turning left/right like a car). The right stick controls pitch (pointing the nose up/down) and roll (banking the wings left/right).
- Mode 1 ("Japanese hand") swaps the throttle and pitch controls.
I use Mode 2 for all my flying. Your remote will have two main joysticks to handle those four basic controls: pitch, roll, yaw, and throttle.
You'll also see remotes listed by the number of "channels" they have. Think of it like this: one channel controls one function. Since the basic controls (pitch, roll, yaw, throttle) need four channels, a 4-channel remote is the minimum you need to fly.
Extra channels let you control things like landing gear or flaps (parts on the wings that help slow the plane down). For starting out, you don't need to go crazy. A 6-channel remote is more than enough for any beginner.
Remotes can range in price quite a bit, from budget-friendly options under $50 to high-end gear costing thousands! Instead of me listing specific models, a great way to see what's popular and recommended is to check out channels on YouTube or browse forums like Reddit where other RC pilots share their experiences. You'll get a good sense of what gear beginners are having success with.
If you decide to start with a Ready-To-Fly (RTF) kit, it will often come bundled with a basic 4-channel remote. That's perfectly fine for learning the ropes with that specific plane. However, if you're planning to build your own airplane or want a remote you can grow with a bit, stepping up to a 6-channel remote is usually more than enough for a beginner. It covers the basic flight controls and gives you a couple of extra channels if you decide to add things like flaps later on. The key is to choose what fits your current needs and budget – you don't need the fanciest remote right out of the gate!
2. Receiver

When you buy a remote control, it usually comes with a little box called a receiver. Like the name says, the receiver sits inside your airplane and receives the signals your remote control sends out.
It then passes those signals along to the other electronic parts, like the servos and the ESC (we'll get to those next!), which make the plane actually move.
You might see different sizes – some tiny ones are used more for racing drones, but for beginner planes, you'll likely use a standard "PWM" receiver. These have pins where you can easily plug in the cables from your servos and ESC. Super simple!
Receivers also have a channel count, just like remotes. You need a receiver with at least as many channels as your remote uses for the plane's functions. So, if you have a 6-channel remote, you'll typically use a 6-channel receiver.
Generally, you need to use a receiver that's the same brand as your remote control. However, some "open-source" remotes are flexible and can work with receivers from different brands.
3. Motor

Alright, let's talk about what makes the propeller spin! For electric model airplanes, we usually use brushless motors. There are two main types you'll see:
- Propeller Motors: These are the most common for beginner planes, trainers, and scale models (like replicas of World War II planes). They spin a propeller on the front or back.
- Ducted Fan Motors (EDF): These look like mini jet engines and are usually found on faster, jet-style models. They use more power and the planes are generally harder to fly.
My advice? Start with a propeller plane. Get comfortable flying that first before you jump into the faster ducted fan planes.
When you buy a motor, you'll see some numbers and letters. Let's break down an example like a "Langyu 2216 950KV" motor:
-
2216: These numbers usually relate to the size of the motor's stator (the inner part).
22might be the diameter and16the height in millimeters. Bigger numbers generally mean a bigger, more powerful motor. -
950KV: This
KVrating tells you how fast the motor wants to spin per volt of electricity, with no propeller attached. So, a 950KV motor on a 10-volt battery would theoretically spin at 9500 RPM (Revolutions Per Minute). A higher KV value generally means a faster spinning motor (often used with smaller propellers). A lower KV value means a slower spinning motor (often used with larger propellers for more pulling power, or "thrust").
Different motors work best with different sizes and types of propellers. How do you know which prop to use? Ask experienced flyers, the hobby shop owner, or check the motor manufacturer's recommendations online.
4. ESC (Electronic Speed Controller)

The ESC works hand-in-hand with the motor. Its full name is Electronic Speed Controller, and that's exactly what it does: it controls the speed of the motor based on the signal it gets from the receiver (which got the signal from your remote's throttle stick).
The motor plugs into the ESC, and the ESC plugs into the receiver.
When buying an ESC, you'll see a rating in Amps (A), like 30A, 40A, etc. This number tells you the maximum electrical current the ESC can handle. If your motor, propeller, and battery combination pulls more current than the ESC is rated for, you can burn out the ESC – not good!
How do you know what Amp rating you need? The motor's description usually gives recommendations based on different propellers and battery types (we'll talk batteries next). You just need to make sure the ESC's Amp rating is higher than the maximum Amps your setup will draw. It's always good to have a little extra headroom (e.g., if your motor draws 25A max, a 30A or 40A ESC is a safe bet).
You'll also see ESCs mention voltage limits, often in terms of "S" battery counts (like "2S-4S"). This means the ESC can safely handle power from a 2-cell (2S), 3-cell (3S), or 4-cell (4S) battery. Make sure your ESC matches the battery you plan to use.
One more thing: you might see ESCs listed "with BEC" or "without BEC." BEC stands for Battery Eliminator Circuit. Your receiver needs power too! An ESC with a BEC can provide that power directly to the receiver through the same plug. An ESC without a BEC means you'd need a separate small battery just for the receiver. For beginners, definitely get an ESC with a BEC. It makes wiring much simpler.
Quick Tip: Brushless motors have three wires. If you plug them into the ESC and find the motor spins backward, just swap any two of the three wires, and it will reverse direction!
5. Servos

Think of servos as the "muscles" of your airplane. They are small motors that don't spin all the way around, but instead move an arm back and forth very precisely. They receive signals from the receiver (based on your stick movements on the remote) and push or pull control rods connected to the plane's control surfaces (the moving parts on the wings and tail, like ailerons, elevator, and rudder).
When these surfaces move, they change the airflow, making the plane turn, climb, dive, or roll.
Servos come in different sizes and strengths. A very common size for many beginner and park flyer planes is the 9-gram servo. You can find larger, stronger servos (like 17-gram or bigger) for larger planes or surfaces that need more force.
You might also see servos described as having metal gears or plastic gears. Metal gear servos are usually a bit heavier and more expensive, but they are much stronger and less likely to break or "strip" the gears if they get bumped or stressed. Plastic gear servos are lighter and cheaper but can break more easily. For a beginner plane, standard plastic gear servos are often fine, but metal gears can be a good upgrade for durability.
Servos also have a torque rating, which basically tells you how much pushing or pulling force they have. Generally, bigger servos have more torque. You need servos strong enough to move the control surfaces easily, even when air is pushing against them during flight.
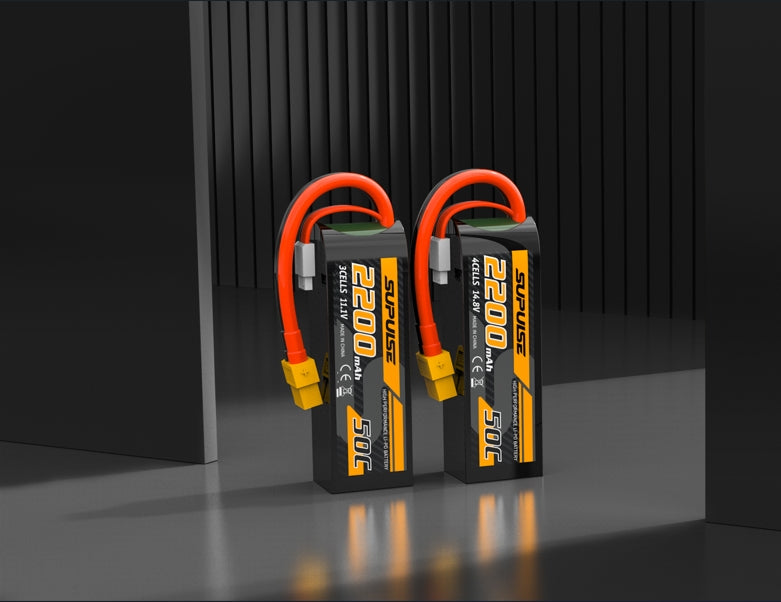
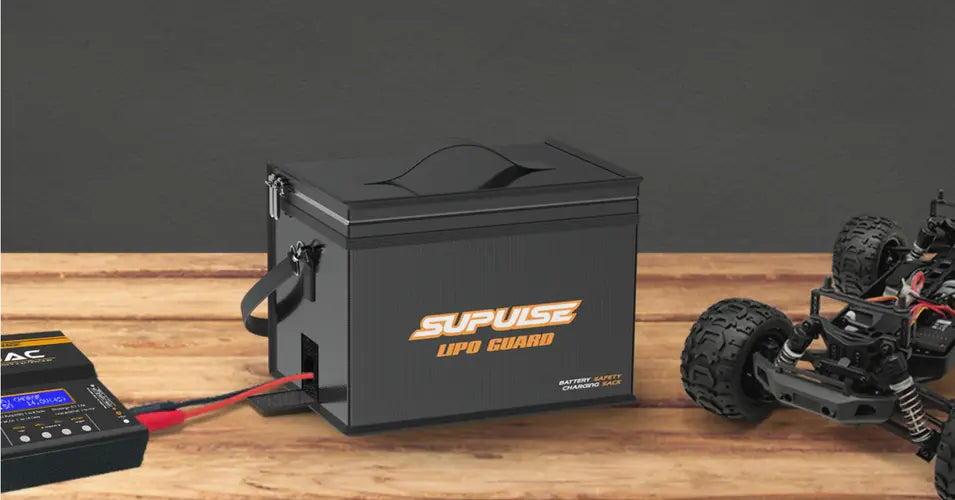
6. Battery

So, what powers all this electric stuff? In most RC airplanes today, we use Lithium Polymer (LiPo) batteries. Forget about regular AA batteries like Nanfu or Duracell – they don't provide nearly enough power!
LiPo batteries have some important numbers printed on them:
-
Capacity (mAh): Measured in milliamp-hours (mAh), like
2200mAh. Think of this like the size of the fuel tank. A higher number means the battery stores more energy and will generally give you longer flight times, but it will also be bigger and heavier. -
Voltage / Cell Count (S): You'll see a number followed by "S," like
3Sor4S. This tells you how many individual LiPo cells are connected together in series inside the battery pack. Each cell has a standard voltage of about 3.7 volts (and charges up to 4.2 volts).- 1S = 1 cell = 3.7V (nominal)
- 2S = 2 cells = 7.4V (nominal)
- 3S = 3 cells = 11.1V (nominal)
- 4S = 4 cells = 14.8V (nominal)
- Higher voltage generally means more power available for the motor. Your motor and ESC must be rated to handle the battery voltage you choose! For beginners,
3Sbatteries are very common.
-
Discharge Rate (C Rating): You'll see a number followed by "C," like
35C. This tells you how quickly the battery can safely deliver its energy. A higher C rating means it can put out power faster, which is needed for high-performance motors. The maximum safe current draw (Amps) is calculated by:(Capacity in Ah) x (C Rating). So, for a 2200mAh (which is 2.2Ah) 35C battery:2.2 Ah * 35C = 77 Ampsmaximum discharge. You need a battery with a C rating high enough for your motor/ESC combo. -
Charge Rate (C Rating): Sometimes there's a second, lower C rating listed, like
5C. This tells you the maximum recommended speed for charging the battery.1Cis always considered a safe charging rate (for our 2200mAh example, 1C = 2.2 Amps). Charging faster than recommended can damage the battery or be unsafe. When in doubt, charge at 1C or even a bit less.
Also, pay attention to the plug on the battery! Common ones on planes are the yellow XT60 connector. Smaller batteries might use red JST plugs or small white plugs. Make sure your battery plug matches the plug on your ESC (or be prepared to solder on a matching connector).
(Some folks doing long-range flying might use Lithium-Ion (Li-Ion) cells like the 21700, which have high capacity but lower discharge rates. You probably won't need these starting out.)
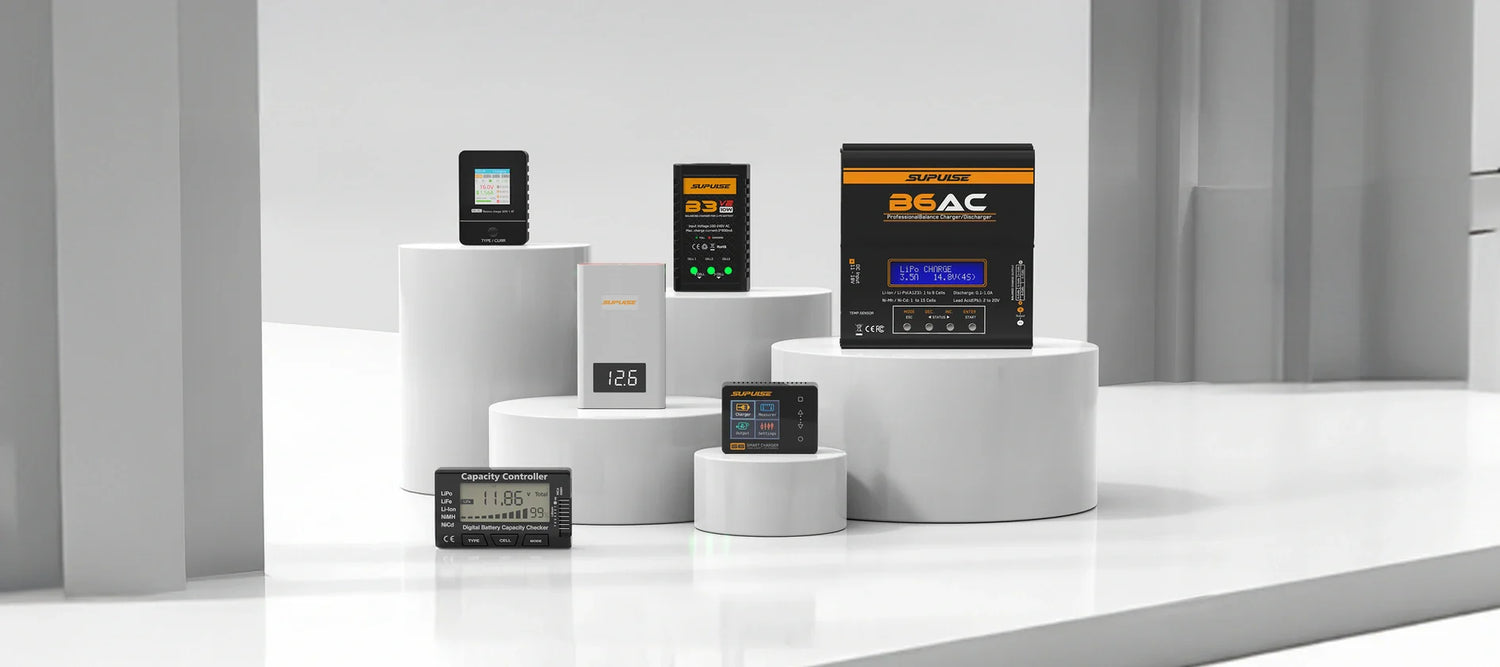
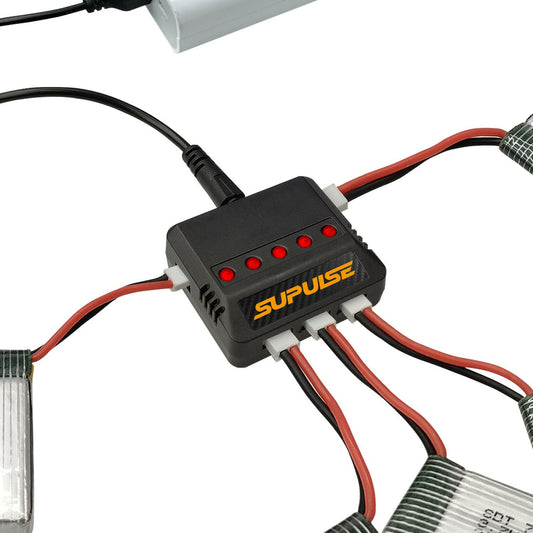
7. Charger

You need a way to safely charge those LiPo batteries, and that's where the charger comes in. There are lots of different types. Some need a separate power supply (like a laptop power brick), while others plug directly into the wall.
You might come across very simple chargers, sometimes called B3-style chargers. They are extremely inexpensive, which could fit the tightest budgets if you only need basic charging for smaller batteries. However, they typically lack adjustable settings and advanced safety features.
For better battery care, safety, and flexibility, a balance charger is generally a better starting point. For instance, our B6 charger offers features like adjustable charge rates and balance charging, which helps keep your LiPo batteries healthy and charged safely. It's a worthwhile step up for most beginners getting into the hobby.
- Balance Charge: They charge each cell inside the battery pack individually to make sure they all reach the same voltage. This is crucial for the health and safety of LiPo batteries.
- Adjustable Current: You can set the charging current (Amps) – remember, 1C is usually safe.
- Safety Features: They usually stop automatically when the battery is full.
- Other Modes: They often have modes for discharging batteries or putting them into a "storage charge" state (about 3.8 volts per cell) if you won't be using them for a while, which helps them last longer.
Investing in a decent balance charger from the start is really important for keeping your batteries healthy and charging safely. As you get more into the hobby and collect more batteries, you might eventually upgrade to a more powerful charger, but something like a B6 is perfect for beginners.
8. Simulator
Okay, last but definitely not least: the simulator. Strictly speaking, it doesn't go on the airplane, but trust me, it's absolutely essential for a beginner.
An RC flight simulator is basically software for your computer that lets you practice flying virtual model airplanes using your actual remote control. You usually get a USB dongle or cable that connects your remote to the computer. (Different remotes might need different connection cables – often a simple headphone-style jack works).
Once connected, it's like playing a realistic flying game.
Here's my biggest piece of advice for new pilots: Practice on the simulator BEFORE you try to fly your real plane! Seriously. Learning to fly takes coordination, and it's way better to crash a virtual plane (where you just hit 'reset') than to wreck your brand-new model on its first flight. You'll hear people joke "ten planes, nine crashes" for beginners who skip the sim – don't let that be you!
Practice taking off, flying basic circuits, and especially landing smoothly on the simulator. Once you feel confident doing that consistently, then you're ready to try the real thing. I know everyone's excited to fly, but taking the time to practice on the sim shows you're serious about learning properly.
Wrapping Up
Phew, that's the rundown of the essential gear! I know it might seem like a lot, but hopefully breaking it down piece by piece makes it less confusing. This was a pretty broad overview, so if I missed something or made a mistake, feel free to point it out!
If you have more questions or want to know more about anything specific, ask away in the comments or join an online RC forum or a local club. The RC community is usually full of helpful folks who love sharing their knowledge.
Most importantly, have fun with the learning process! Good luck with your first flights, practice on that simulator, and aim for smooth landings, not crashes ("fry chicken" as we sometimes call it!).
I'm Chris. Thanks for reading, happy flying, and I'll catch you in the next one!

1 commentaire
Thank you..returning to the hobby after 40+ years away…….a real mine field but your prog most helpful…thank you keep it coming please…in terms of sims there are plenty of free software for the pc ..you may mention this
Regards
Andy